Button Garland
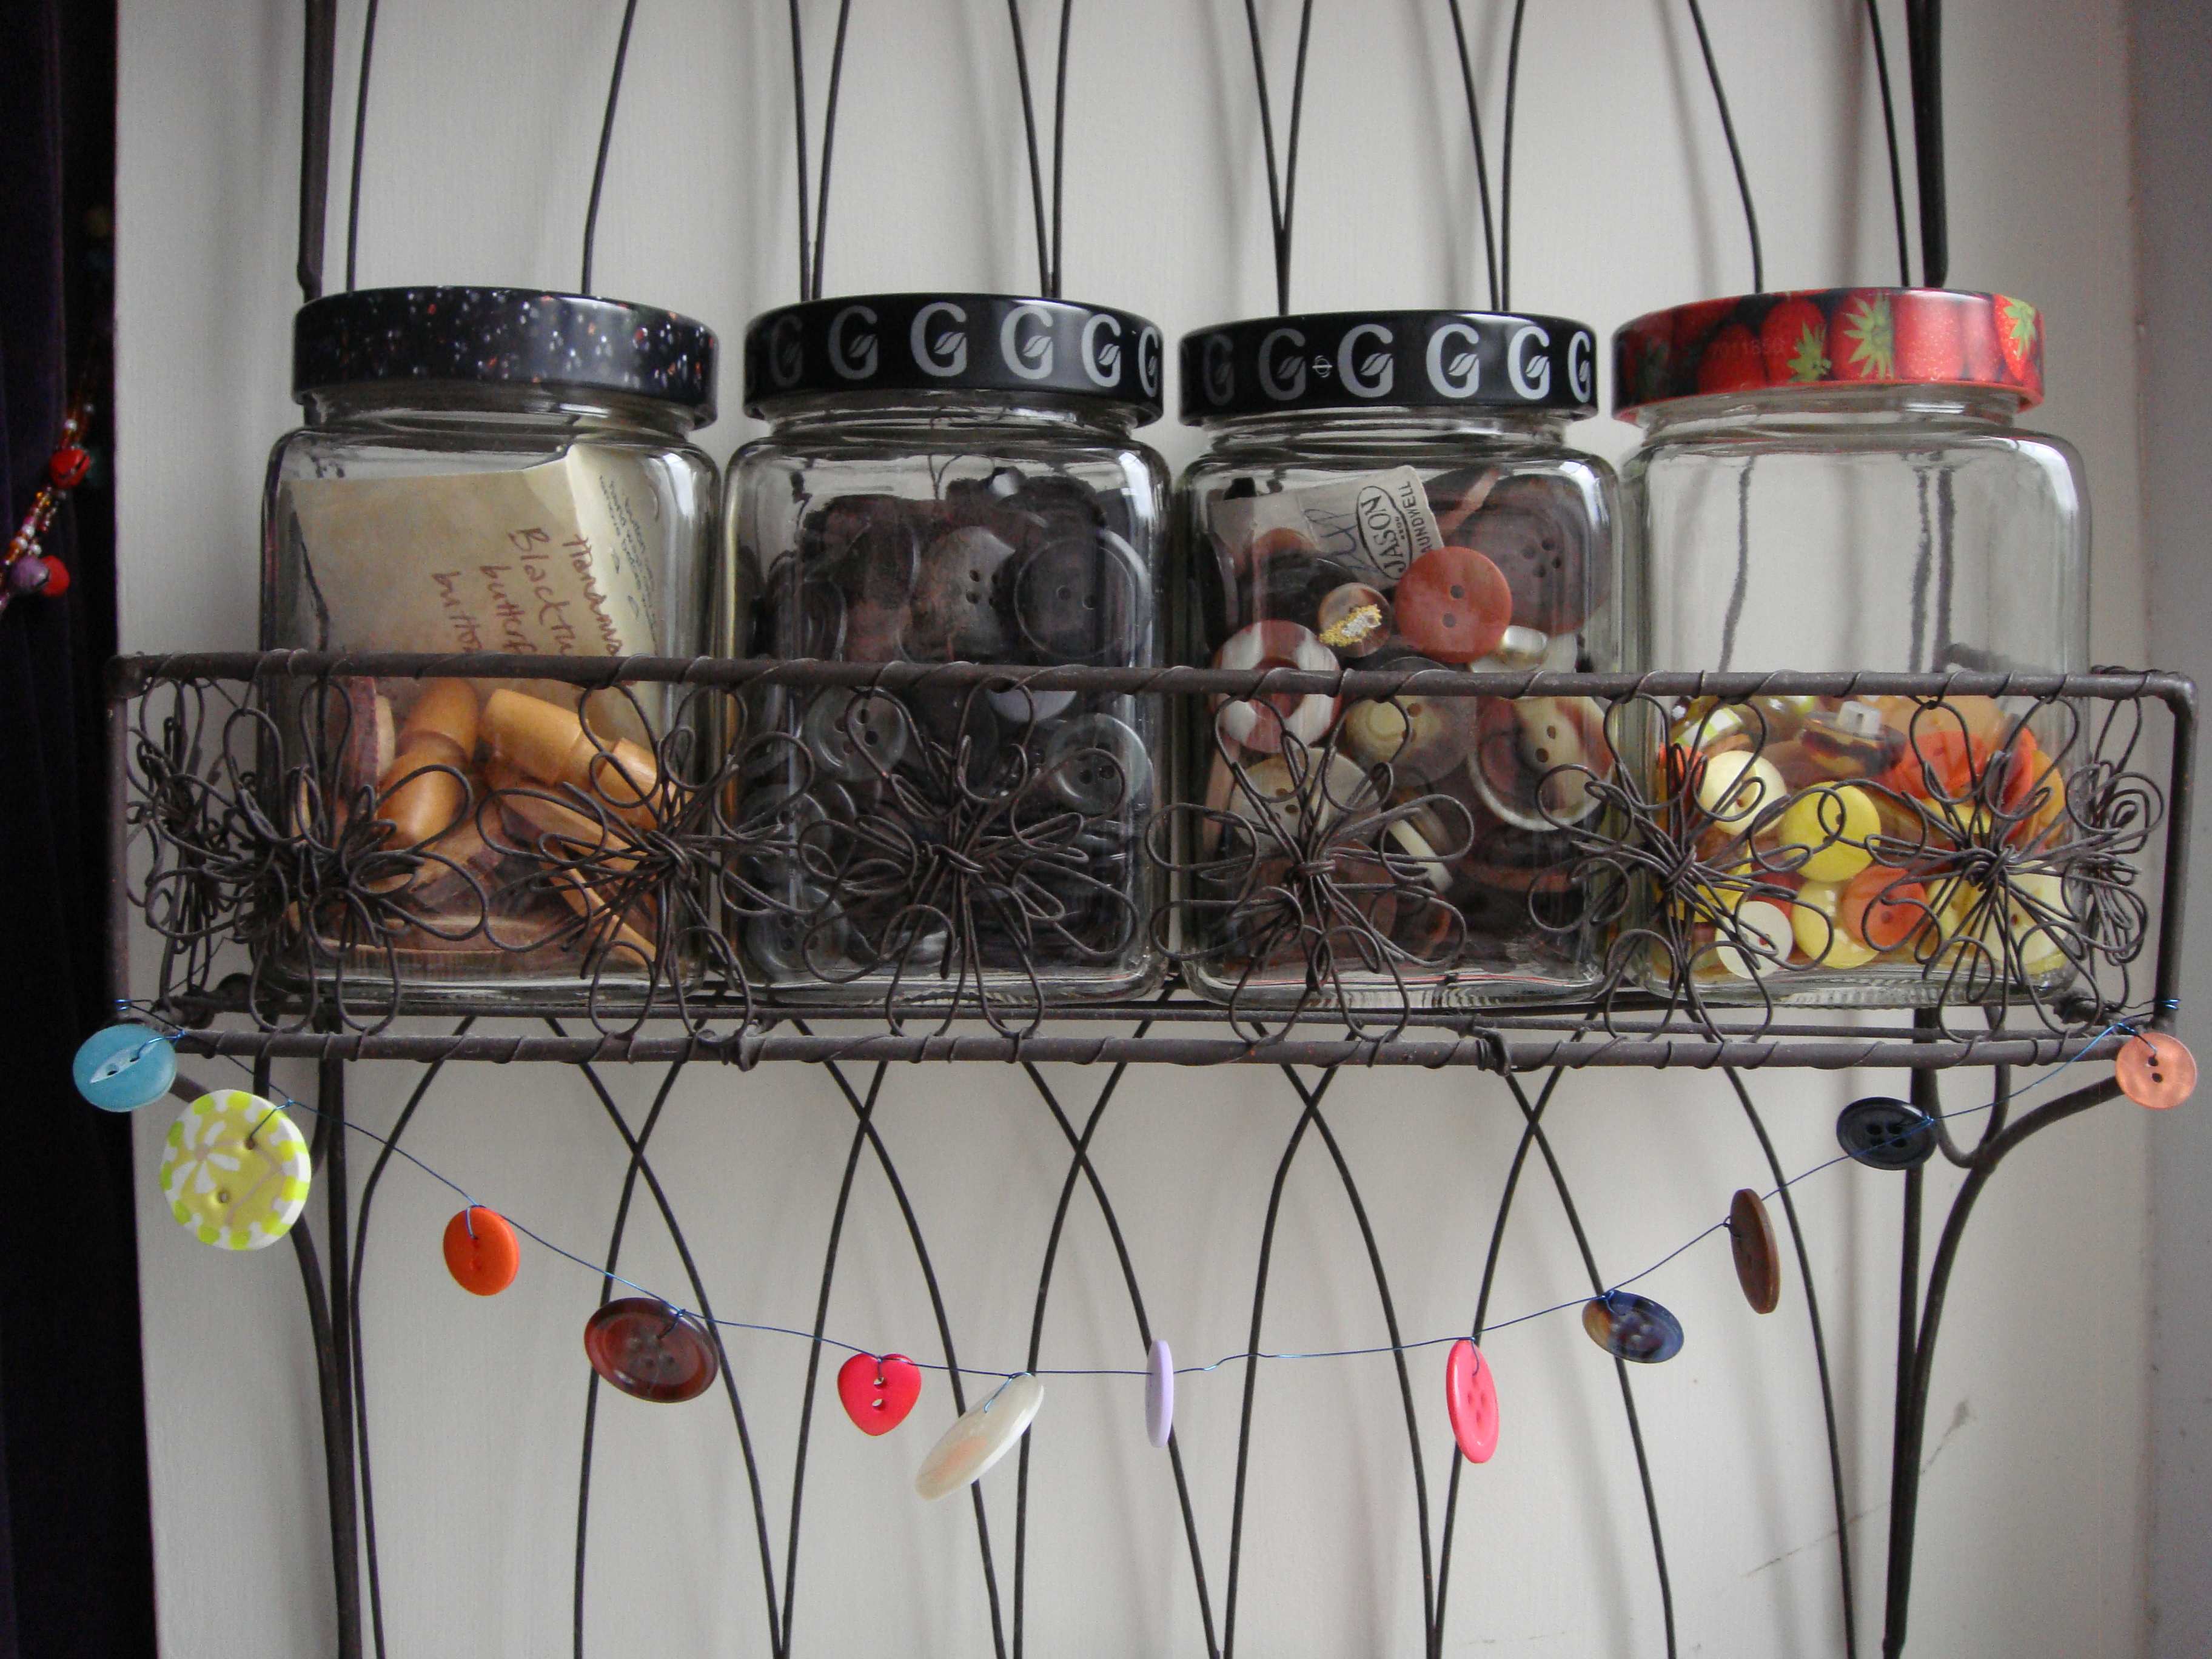
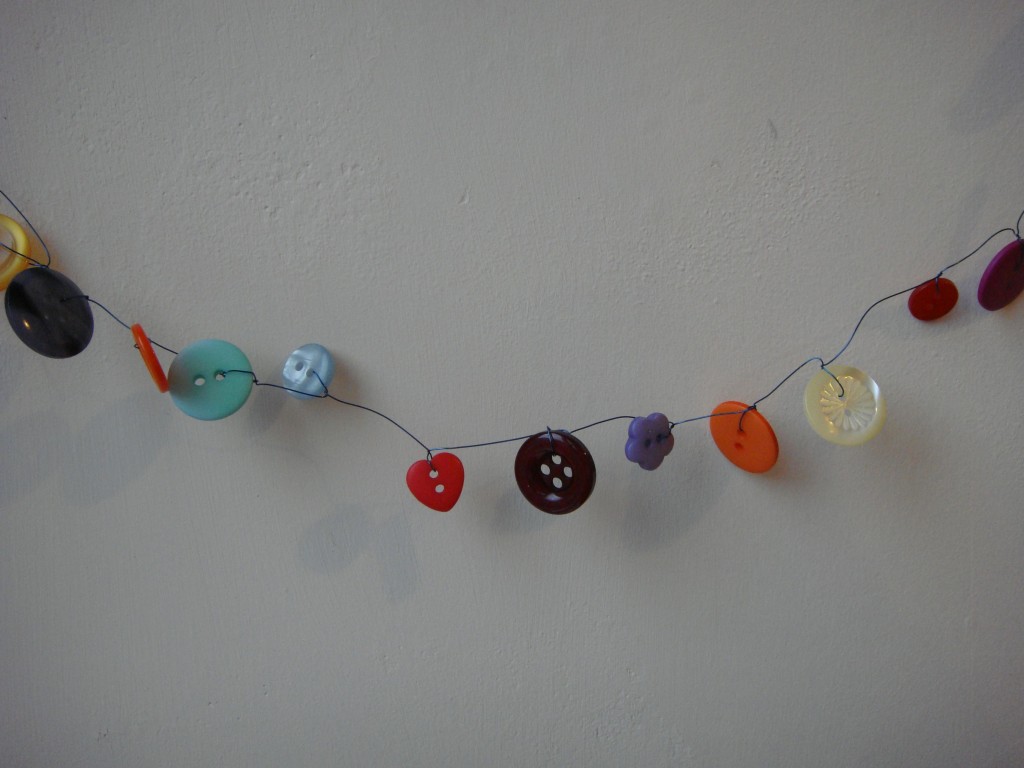
I had a bit of a post Christmas clear up and sort out yesterday. I finally got round to hanging up my button shelves (shelves to hold jars of buttons, not shelves made of buttons!). I thought they could do with a bit of a make over so I decided to make some little button garlands for decoration. What do you think?
Here’s how to make one –
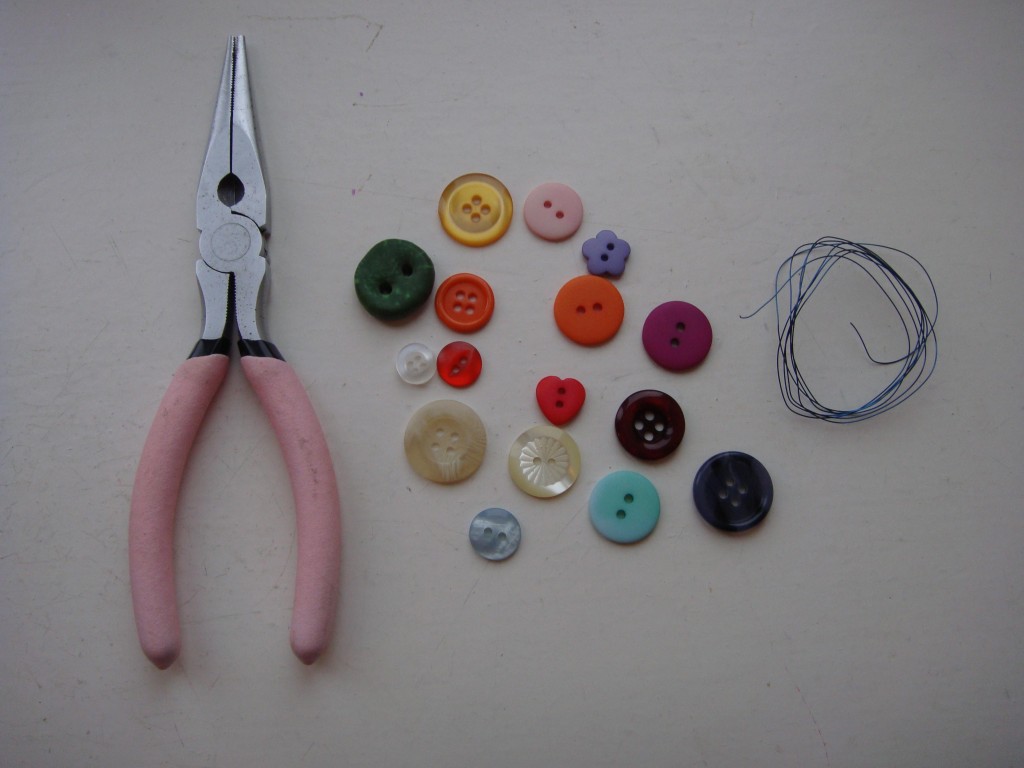
First cut a piece of wire to the length you need plus a few extra inches for tying both ends. I used turquoise 28 guage wire from the craft shop, but any thin wire you have would be fine. Then find a nice little collection of buttons to use. For cutting the wire I used some thin pliers with a wire cutter bit near the handle – not sure what they are officially called, but any strong cutting scissors or pliers should work just as well.
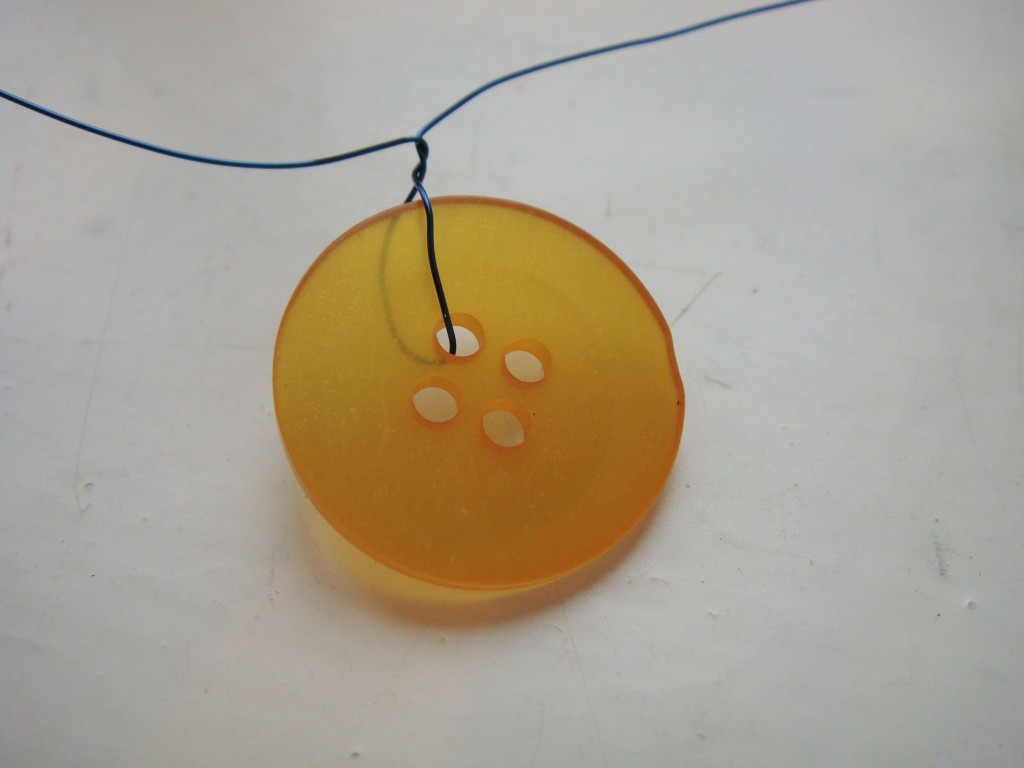
Leave a few inches at one end of the wire and then thread the wire through one of the button holes. Twist the button round a couple of times to secure.
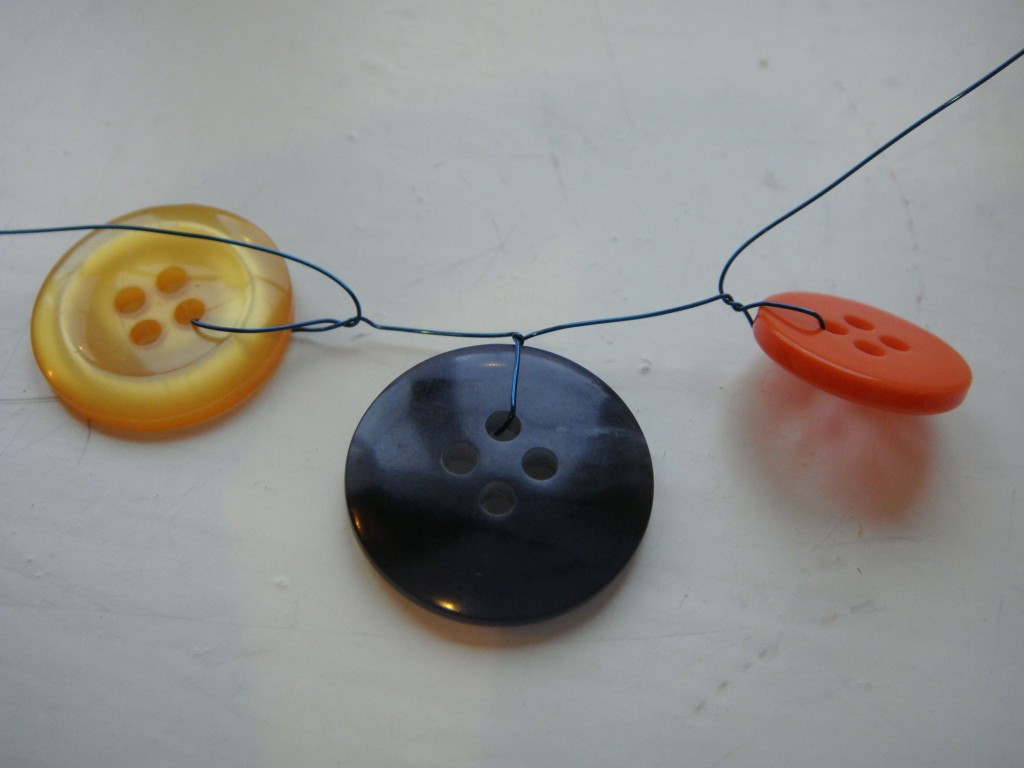
Leave about an inch or two and then thread and secure another button.
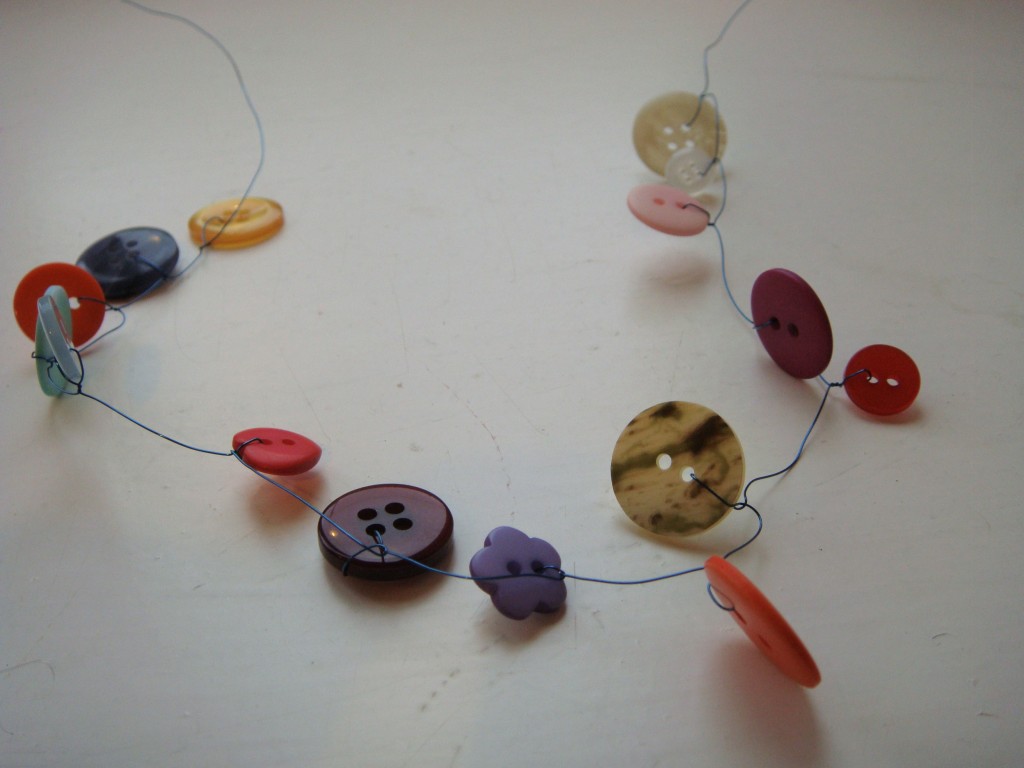
Carry on in this way until your garland is as long as you want it. Don’t worry if the buttons aren’t all facing in the same direction, it looks cute with them sticking out all over the place – see !!
Now your garland is ready to hang up. Twist the wire ends onto hooks, attach to the top of a picture frame or mirror or use glue dots to hang the garland wherever you think it will look pretty.
Have fun making your button garland!

